
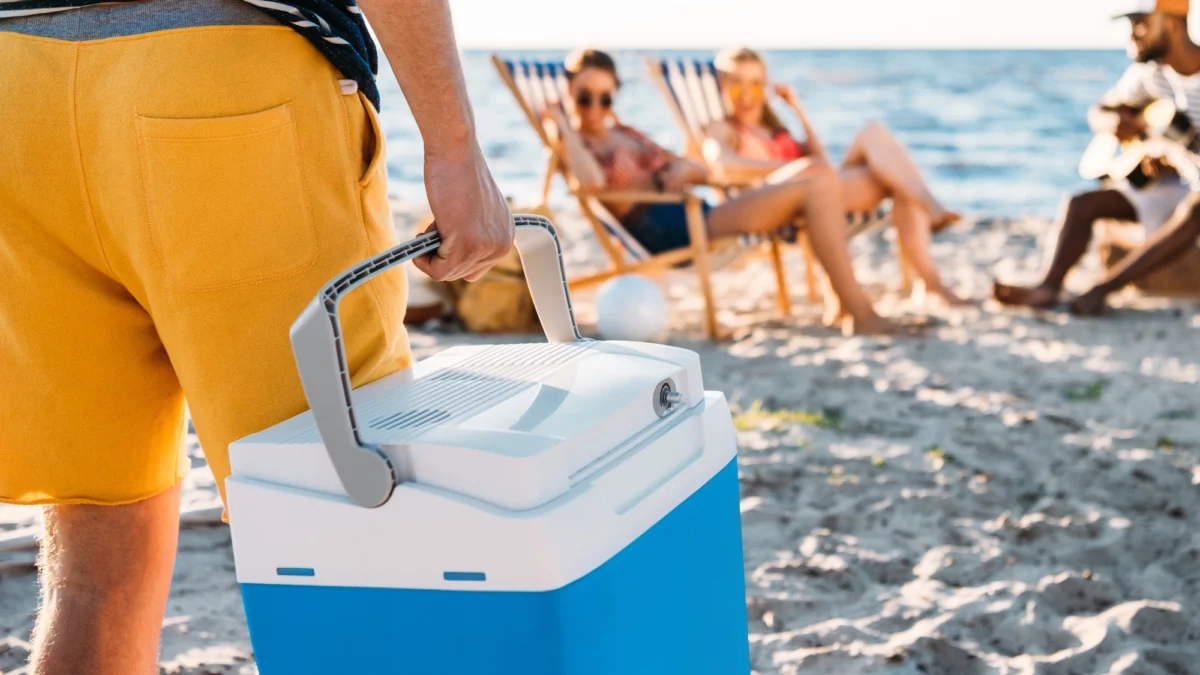
The modern outdoor experience, whether it involves a weekend of backcountry camping, a day at the beach, or a simple backyard gathering, relies heavily on the efficiency of the portable cooler. While often viewed as a simple plastic box designed to hold ice and beverages, the cooler is an essential piece of equipment that operates on fundamental principles of thermodynamics. For many enthusiasts, the traditional method of haphazardly tossing bags of ice over room-temperature cans is no longer sufficient. Achieving maximum ice retention and ensuring food safety requires a strategic approach that begins long before the first item is packed. By understanding the science of insulation and the mechanics of heat transfer, consumers can transform their coolers from temporary ice buckets into long-term refrigeration solutions capable of maintaining safe temperatures for several days.
The Foundation of Thermal Retention
At its core, a cooler’s performance is determined by its ability to resist the three forms of heat transfer: conduction, convection, and radiation. High-quality coolers utilize thick walls filled with polyurethane foam, a material known for its low thermal conductivity. This insulation acts as a barrier, slowing the movement of heat from the external environment to the interior of the chest. However, even the most expensive rotomolded cooler can fail if the user does not account for the "thermal mass" of the unit itself.
A common mistake made by casual users is retrieving a cooler from a hot garage or attic and immediately filling it with ice. In this scenario, the insulation is saturated with heat. When ice is added, a significant portion of its cooling energy is spent lowering the temperature of the cooler’s walls rather than preserving the contents. This leads to rapid melting within the first few hours of use. To counteract this, experts recommend a "pre-chilling" phase. By placing a sacrificial bag of ice or frozen jugs inside the cooler at least 12 to 24 hours before the trip, the internal temperature of the insulation is stabilized, ensuring that the primary ice supply lasts significantly longer.
A Chronological Guide to Cooler Preparation
To achieve professional-grade results, the packing process should follow a strict timeline. This structured approach ensures that every component of the cooler is optimized for cold retention.
24 Hours Before Departure: The Pre-Chill Phase
The cooler should be moved to the coolest part of the home. Users should fill the interior with "sacrificial" ice or reusable ice packs to drop the temperature of the internal lining. Simultaneously, all food and beverages intended for the cooler should be refrigerated. Packing warm items into a cooler is one of the most common causes of premature ice melt, as the ice must work overtime to absorb the heat from the room-temperature products.
12 Hours Before Departure: Freezing the Fundamentals
Items that do not need to be consumed immediately, such as water bottles, meats for later in the trip, or certain snacks, should be placed in a freezer. A frozen gallon of water acts as a massive block of ice that provides cooling for days and eventually becomes a source of cold drinking water as it thaws.
The Hour of Departure: The Strategic Pack
The sacrificial ice should be discarded and replaced with fresh, dry ice. The cooler should be packed in layers, following the principle that cold air sinks. This phase requires a calculated ratio of ice to contents to ensure longevity.
The Mathematics of Cooling: Ice-to-Content Ratios
Professional outfitters and brands such as Yeti and Pelican emphasize the importance of the ice-to-content ratio. For multi-day trips, a ratio of 2:1 (two parts ice to one part food and drink) is considered the industry standard. While this may seem excessive to those used to filling a cooler to the brim with snacks, air is the enemy of ice. Large pockets of air inside a cooler facilitate convection, allowing the internal temperature to rise rapidly every time the lid is opened.
The type of ice used also plays a critical role. Cubed ice has a high surface area, which allows it to cool items quickly, but it also melts faster. Block ice, conversely, has a low surface-area-to-volume ratio, meaning it melts much slower and serves as a long-term cooling foundation. For the best results, a combination is recommended: block ice at the bottom to provide a cold base, and cubed ice filled into the "interstitial spaces" between cans and containers to eliminate air pockets.
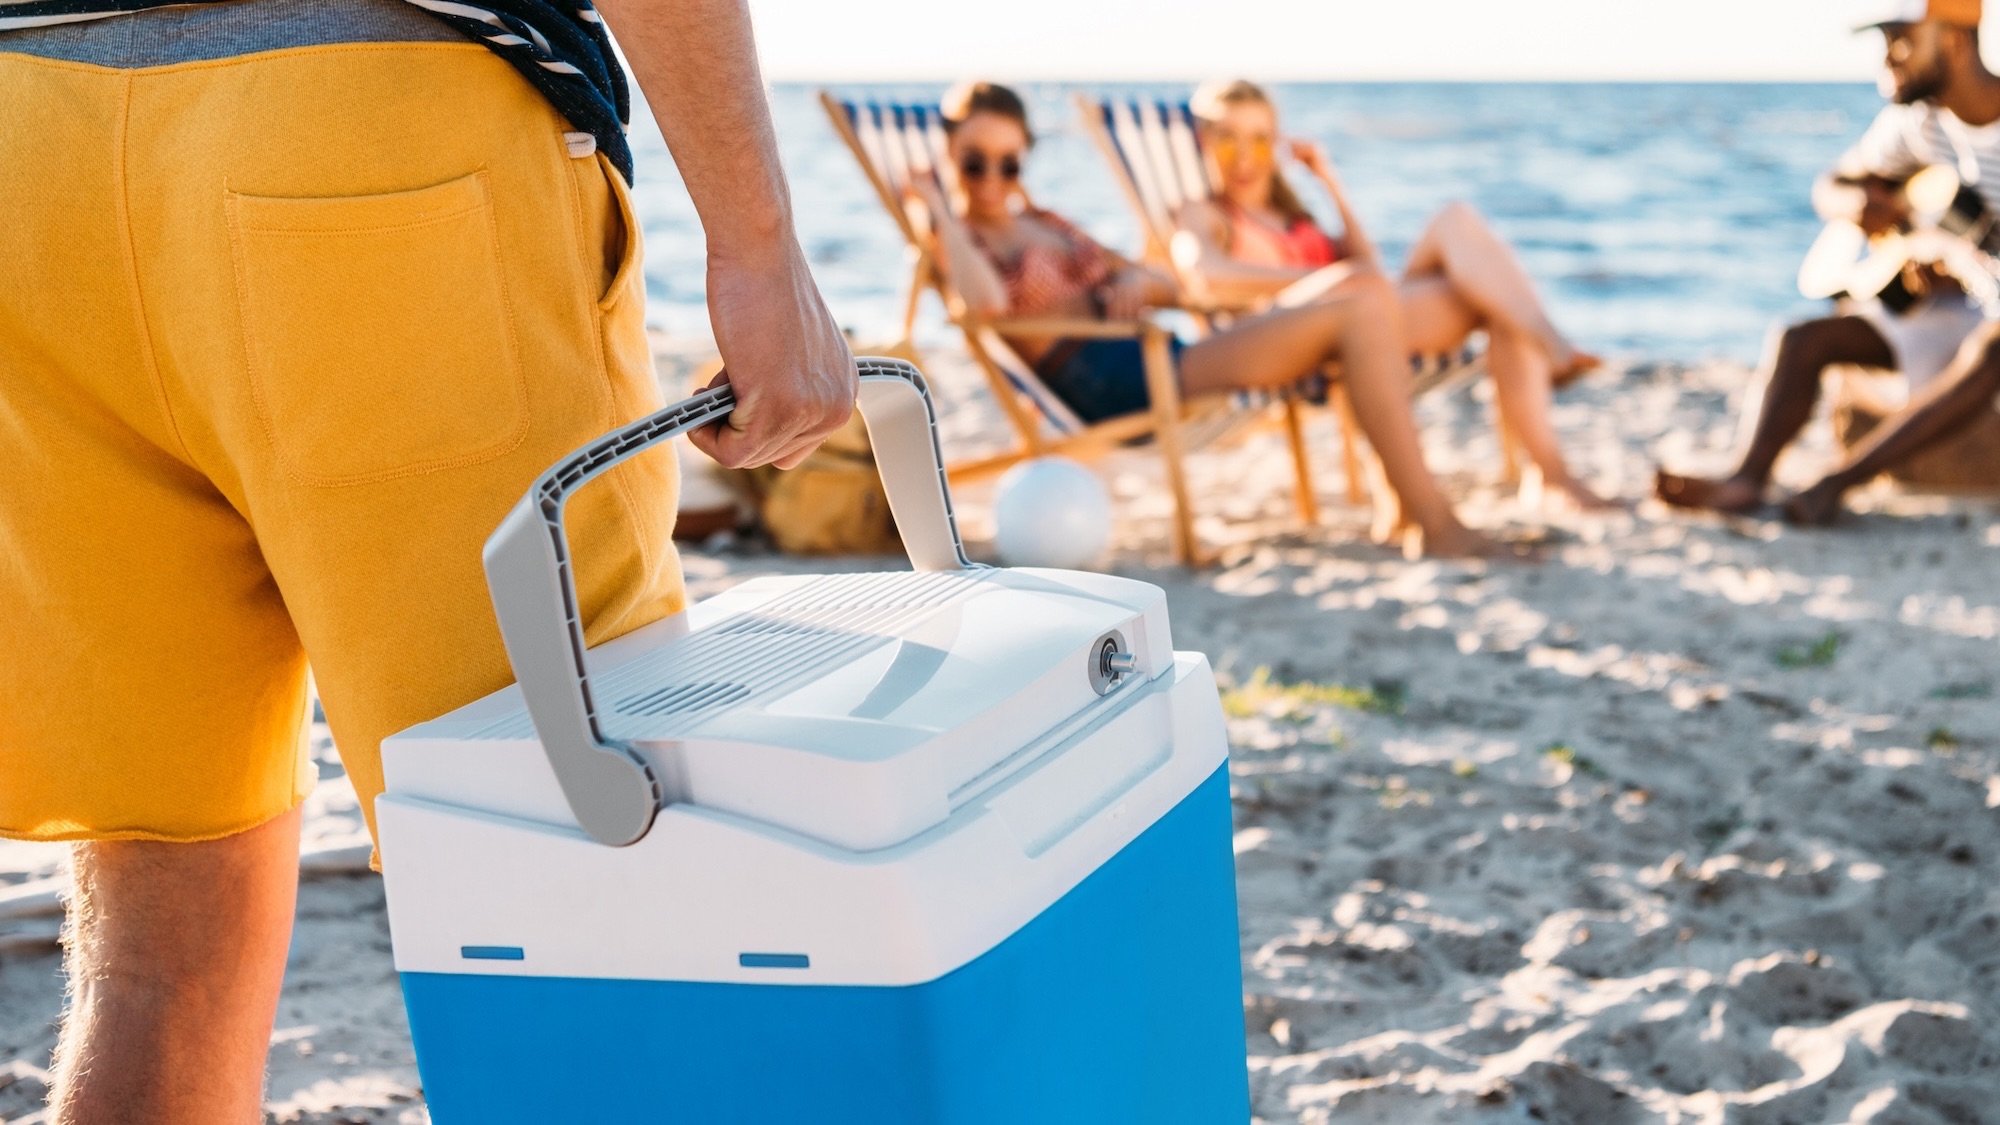
Structural Integrity: Hard-Sided vs. Soft-Sided Coolers
The choice of hardware is the first decision a consumer must make, and it should be dictated by the intended use case.
Hard-Sided Coolers:
These are the workhorses of the industry. Typically constructed using rotomolding—the same process used to make high-end kayaks—these coolers feature thick, seamless walls. They are designed for maximum durability and long-term ice retention, often keeping ice frozen for five to ten days. Their weight and bulk make them ideal for vehicle-based camping or boating where portability is secondary to performance.
Soft-Sided Coolers:
Advancements in materials science have led to a new generation of high-performance soft coolers. Utilizing closed-cell foam and leak-proof zippers, these units offer surprising thermal resistance while remaining lightweight and easy to carry. They are the preferred choice for day hikes, beach trips, or picnics. However, because they lack the thick polyurethane walls of their hard-sided counterparts, they are generally limited to 24 to 48 hours of effective cooling.
Food Safety and the "Danger Zone"
Beyond the convenience of a cold drink, cooler management is a matter of public health. According to the U.S. Department of Agriculture (USDA), bacteria can double in number in as little as 20 minutes when food is kept in the "Danger Zone"—between 40°F (4.4°C) and 140°F (60°C).
For a cooler to be considered safe for perishable items like raw meat, dairy, and eggs, it must maintain an internal temperature below 40°F. Journalistic analysis of consumer habits suggests that many users rely on the presence of "some ice" as an indicator of safety. However, as ice melts, the resulting water can still be 32°F, but the air at the top of the cooler may have already risen into the Danger Zone. Using a dedicated cooler thermometer is a recommended practice for any trip lasting longer than a few hours.
Furthermore, the management of meltwater is a subject of debate among outdoor enthusiasts. While some argue that keeping the cold water helps insulate the remaining ice, food safety experts warn against this if food is not in watertight containers. Meltwater can become a breeding ground for cross-contamination if juices from raw meat packages leak into the communal pool of water.
Expert Recommendations and Best Practices
To further enhance performance, industry experts suggest several "pro-tips" that go beyond basic packing:
- Limit Lid Openings: Every time a cooler is opened, the cold, dense air escapes and is replaced by warm, humid air. Users should organize their coolers so that frequently accessed items (like drinks) are on one side or in a separate, smaller cooler, while perishable food stays tucked away in the primary unit.
- The "Shade Rule": Even the best insulation can be overwhelmed by direct solar radiation. Keeping a cooler in the shade, or even covering it with a light-colored wet towel, can significantly reduce the heat load on the exterior shell.
- Use Reflective Barriers: For extreme heat, placing a layer of reflective Mylar or a "bubble-wrap" insulator on top of the ice inside the cooler can add an extra layer of protection against radiant heat transfer when the lid is opened.
- Dry Ice Caution: For extended expeditions, dry ice (frozen carbon dioxide) can be used in compatible hard-sided coolers. Because it sublimates at -109.3°F, it can keep items frozen for days. However, it requires specialized handling to prevent frostbite and must be used in ventilated areas to prevent the buildup of CO2 gas.
Broader Implications: Economic and Environmental Impact
The shift toward better cooler management has broader implications than just a colder soda. From an economic perspective, proper cooling prevents significant food waste. The average American family spends thousands of dollars annually on groceries; losing a cooler full of expensive steaks and fresh produce due to poor ice management is a direct financial hit.
Environmentally, the demand for ice contributes to energy consumption and plastic waste. In the United States alone, the production and transportation of commercial ice is a multi-billion dollar industry. By utilizing reusable ice packs, freezing water bottles to serve as dual-purpose cooling agents, and employing techniques that double the life of a single bag of ice, consumers can reduce their environmental footprint and the amount of plastic waste generated by disposable ice bags.
As the outdoor recreation industry continues to grow, the "science of the chill" has become a point of pride for many adventurers. What was once a simple task of "ice and go" has evolved into a disciplined ritual of preparation and organization. By treating the cooler as a piece of precision equipment rather than a plastic bin, outdoor enthusiasts can ensure their food stays safe, their drinks stay refreshing, and their focus remains on the adventure at hand rather than the state of their melting ice.

